
TL;DR:
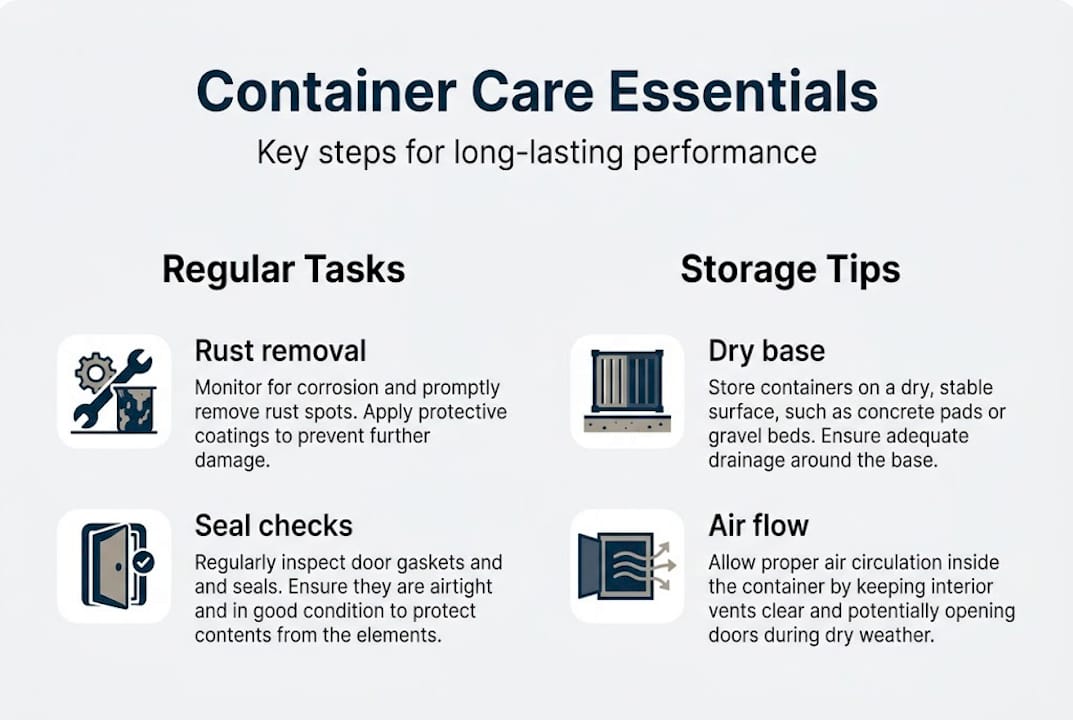
- Regular cleaning and inspections prevent rust and structural damage in used shipping containers.
- Proper storage, elevation, and environmental protection extend container lifespan significantly.
- Address small repairs promptly and utilize professional services for major structural issues.
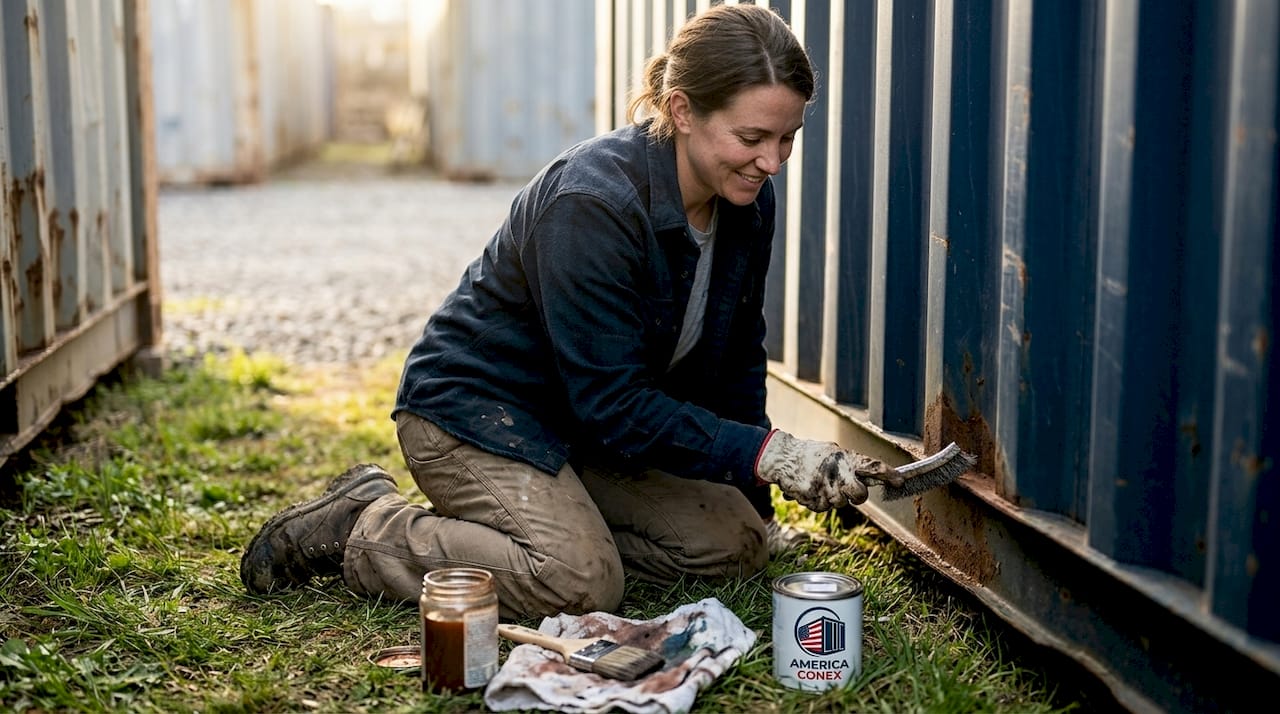
Used shipping containers are tough, but they're not invincible. Neglect a used container long enough and you'll face rust eating through the walls, door seals that leak during rain, and floors that buckle under weight. Those problems don't just cost money to fix — they can destroy inventory, delay operations, and turn a smart investment into a liability. The good news is that most container damage is preventable. With the right tools, a consistent schedule, and a few key techniques, you can keep a used container performing reliably for decades.
Table of Contents
- What you need before starting: Tools, supplies, and basic checks
- Step-by-step cleaning routine for used containers
- Routine inspections and common maintenance tasks
- Storage practices and environmental protection tips
- Troubleshooting problems and advanced care strategies
- What most maintenance guides miss about used containers
- Get lasting value from your containers with America Conex
- Frequently asked questions
Key Takeaways
| Point | Details |
|---|---|
| Regular checks matter | Monthly inspections and cleaning extend container life and head off expensive repairs. |
| Smart storage helps | Where and how you store containers has a huge impact on longevity and condition. |
| Small fixes save money | Quick action on minor issues prevents major damage and keeps maintenance costs low. |
| Preparation is key | Having the right supplies and a simple checklist makes effective maintenance easy. |
What you need before starting: Tools, supplies, and basic checks
Now that you appreciate why maintenance can't wait, let's make sure you have everything needed to do it right.
Good preparation is the foundation of effective container care. As container quality basics show, the right preparation prevents overlooked problems during maintenance. Starting without the proper supplies means you'll miss damage, apply the wrong products, and create more work for yourself down the road.
Here are the core tools and supplies you'll need:
- Wire brush and angle grinder for removing surface rust
- Marine-grade paint or rust-inhibiting primer to protect metal surfaces
- Silicone sealant or weatherstrip adhesive for door gaskets and seams
- Penetrating lubricant (like WD-40 or white lithium grease) for hinges and locking rods
- Pressure washer or stiff-bristle scrub brush for exterior cleaning
- Moisture-absorbing packets or a small dehumidifier for interior humidity control
- Safety gear: gloves, safety glasses, and a respirator mask
- A dedicated maintenance logbook to track every inspection and repair
| Supply | Purpose | Frequency of use |
|---|---|---|
| Wire brush | Rust removal | As needed |
| Marine-grade paint | Surface protection | Every 1-2 years |
| Silicone sealant | Seal gaps and leaks | Annually or as needed |
| Lubricant | Door hinges and rods | Every 3-6 months |
| Pressure washer | Deep exterior cleaning | Every 1-3 months |
| Logbook | Track inspection history | Every visit |
Before you touch a single tool, walk the entire container and note what you see. Check the door hinges and locking bars for corrosion and stiffness. Inspect the floor for soft spots, cracks, or signs of chemical damage. Look at the roof for dents that hold water. Examine the door seals for cracking or compression failure.
Pro Tip: Carry a piece of chalk during your first walkthrough. Mark every questionable spot directly on the container surface. You'll have a clear visual map of problem areas to revisit, and nothing gets missed when you start working.
Set up your logbook on day one. Note the date, every issue you observed, what you did to address it, and when the next check is due. This record becomes invaluable when you need to prove the container's condition for insurance, resale, or compliance purposes.
Step-by-step cleaning routine for used containers
With tools in hand and your checklist ready, it's time to roll up your sleeves for a thorough cleaning.
Regular cleaning is crucial to prevent corrosion and extend container life. Dirt and organic debris trap moisture against steel, accelerating rust far faster than exposure alone. A clean container is also much easier to inspect — you can actually see what you're dealing with.
Follow these seven steps for a complete cleaning session:
- Clear the interior completely. Remove all contents, shelving, and any loose materials before you start.
- Ventilate the container. Open both doors fully and, if possible, add a fan to circulate air. This is critical when using cleaning products indoors.
- Sweep and vacuum the interior. Remove loose debris, dust, and any visible mold or mildew before introducing water.
- Wash the exterior with a pressure washer. Work from top to bottom. Use a mild detergent mixed with water. Pay extra attention to seams, corners, and the undercarriage.
- Scrub the interior walls and floor. Use a diluted bleach solution (1 cup bleach per gallon of water) for mold or mildew. For general grime, a mild dish soap works fine.
- Rinse thoroughly. Leave no soap residue, which can trap moisture and cause its own damage.
- Dry completely before closing. Use towels for the interior floor and leave the doors open until the container is fully air-dried. Never seal a damp container.
Safety note: Always wear gloves and a respirator when cleaning a used container's interior. Unknown cargo residues, mold spores, and cleaning chemicals all pose real health risks in an enclosed metal space.
During cleaning, you'll often discover early-stage rust (orange staining) or small mold patches. These are much easier to address now than in six months. For efficient cleaning routines that integrate inspection naturally, treat the cleaning session as a built-in opportunity to assess every surface.
Pro Tip: After the exterior wash, drag your hand along the roof surface. Any rough, pitted texture you feel indicates rust forming beneath any remaining paint. Mark it with chalk and treat it in your next repair step.
Routine inspections and common maintenance tasks
Now that your container is clean, keep its condition high with simple regular checks.
Preventive maintenance reduces downtime and repair costs significantly. A small rust patch treated in March costs almost nothing. Left until fall, the same spot can require a full panel repair.
Here's a comparison table showing how often to perform key maintenance tasks:
| Task | Monthly | Every 3-6 months | Annually |
|---|---|---|---|
| Visual inspection (all surfaces) | Yes | Yes | Yes |
| Door lubrication | No | Yes | Yes |
| Seal inspection and replacement | No | Inspect | Replace if needed |
| Rust spot treatment | As found | Full check | Full repaint |
| Roof drainage check | Yes (rainy season) | Yes | Yes |
| Floor integrity check | No | Yes | Yes |
For your monthly walk-around, focus on these key areas:
- Roof: Look for new dents or pooled debris that holds water after rain.
- Door seals: Press the gasket gently. If it doesn't spring back, it needs replacement.
- Locking rods and handles: They should move smoothly with no grinding. Apply lubricant if resistance is felt.
- Corner castings: These take the most stress during transport and stacking. Look for cracks.
- Floor from inside: Tap sections with your foot. A hollow sound suggests the wood subflooring is delaminating.
For containers that need to meet cargo worthy container criteria, these inspections are not optional. They directly determine whether a container can legally carry goods internationally.
When you find rust, act quickly. Sand the area with a wire brush or grinder, apply a rust converter, prime, and repaint with marine-grade paint. For leaks, dry the area, apply silicone sealant to seams or cracks, and let it cure fully before exposing the container to rain again. If you find structural damage like bent frames or cracked corner castings, that requires professional assessment. Refer to secure depot routines for how professional facilities handle this kind of ongoing upkeep.
Storage practices and environmental protection tips
Regular maintenance is most effective when matched to the right storage environment.
Proper storage greatly extends container service life. How you position and support your container can be the difference between five additional years of use and premature failure.
Here are the most important environmental protection practices:
- Elevate the container off bare ground. Direct soil contact holds moisture against the steel floor frame, which is the fastest path to bottom rust. Use concrete blocks, railroad ties, or a compacted gravel pad.
- Ensure proper drainage around the site. Water should flow away from the container, not pool underneath it. Grade the ground slightly if needed.
- Orient the container to avoid prevailing wind-driven rain. The door end should face away from the primary wind direction to protect the seal-critical areas.
- Use ventilation plugs or keep vents clear if your container has built-in ventilation ports. In humid climates, cross-ventilation is critical to preventing interior condensation.
- Avoid stacking containers beyond their rated capacity. A 20ft standard unit is rated for a specific corner-load stacking weight. Exceeding it bends the frame permanently.
- In coastal or high-salt environments, increase your inspection frequency and consider a specialized anti-corrosion coating. Salt air is dramatically more aggressive than inland air.
Pro Tip: If you can't build a gravel pad right away, place wooden pallets under the container as a temporary measure. They create airflow under the floor frame and buy you time before a permanent base is installed.
For home-use and small-business applications, residential storage tips and equipment storage solutions both highlight that proper placement choices made at the start of a container's life at your site protect it more than any amount of later reactive maintenance.
Troubleshooting problems and advanced care strategies
Even with diligent care, issues can arise — here's how to handle them confidently.
As repair versus replace assessment illustrates, quick attention to small issues prevents major repairs that cost far more in both time and money.
Here's a step-by-step process for diagnosing and addressing the most common container problems:
- Stuck or stiff doors. Apply penetrating lubricant to all hinges and locking rod cam keepers. Work the door back and forth to distribute it. If the door frame is visibly bent, that's a structural issue requiring professional attention.
- Minor surface rust. Use a wire brush or angle grinder to remove loose rust. Apply a rust converter chemical, let it dry fully, then prime and paint. Don't skip the converter — it neutralizes rust at the molecular level.
- Small leaks at seams or roof joints. Dry the area fully, apply a bead of marine-grade silicone sealant, and smooth with a gloved finger. For larger cracks, use a self-adhesive metal repair tape as a temporary fix before professional patching.
- Soft floor sections. This usually means the plywood subflooring is water-damaged. Individual boards can be replaced without full floor removal — cut out the damaged section and install a replacement board of the same thickness.
- Interior condensation. Add moisture-absorbing packets, ensure vents are open, and check that door seals are intact. In very humid climates, a small desiccant system is worth the investment.
When to call a professional: If you see cracked corner castings, major roof buckling, bent main rails, or rust that has eaten through the wall panels, stop and get a certified container repair specialist involved. Structural failures are not DIY territory.
Pro Tip: If you plan to use the container for specialty purposes like refrigeration conversion or insulated workspace, apply a closed-cell spray foam insulation layer to the interior walls before any other modifications. It seals every surface seam while adding thermal protection.
What most maintenance guides miss about used containers
Most guides give you the checklist. Few tell you what actually drives long-term container performance.
The single most underrated maintenance habit is simply opening your container regularly. Containers that stay locked for months develop accelerated interior condensation and hidden mold because stagnant air has nowhere to go. Opening the doors even once a week for an hour dramatically reduces this risk — no tools required.
Organization matters more than equipment, too. A well-structured inspection schedule followed imperfectly still outperforms the best tools sitting unused in a pile. We've seen containers with basic paint and zero premium coatings outlast heavily treated units because the owner followed a simple monthly walkthrough, every month, without fail.
One persistent myth worth killing: more paint equals more protection. Piling coat after coat on top of existing rust does not seal it in permanently. The rust continues to expand beneath the surface. You have to remove it first, treat it, and then protect it. Skipping the surface preparation step wastes the product entirely. Smart workflow organization also means scheduling these tasks before problems appear, not after they do.
Get lasting value from your containers with America Conex
With these strategies in mind, the right container partner can make maintenance even easier.
At America Conex, we stock used and new containers designed for real-world durability. Whether you need a wind and water tight unit for job site storage or a one-trip container for long-term use, we match you with the right option from the start.
Our team supports you beyond the sale, with transparent guidance on what to look for in a quality unit and how to keep it performing. With 30+ depots nationwide, we deliver fast and competitively priced to your location. Explore container solutions from America Conex and find the unit that fits your storage or shipping needs.
Frequently asked questions
How often should I clean a used shipping container?
For most uses, clean your container every 1 to 3 months and inspect it after any severe weather event. Routine cleaning frequency helps prevent corrosion and extends service life significantly.
What is the best way to prevent rust in used containers?
Keep surfaces dry, repair chipped paint promptly, and place the container on a raised, well-drained base to avoid standing water. Proper storage and drainage prevent rust and extend container lifespan.
Can I repair a shipping container myself, or should I call a pro?
You can handle minor fixes like cleaning, lubricating doors, and spot patching, but for large dents or structural damage, hire a certified professional. Some repairs should be left to professionals for safety and long-term durability.
What supplies do I need for ongoing container maintenance?
You'll need cleaning supplies, a penetrating lubricant, marine-grade paint or anti-rust coating, and basic tools like a wire brush, gloves, and a logbook. Proper preparation includes stocking essential supplies before starting any maintenance routine.